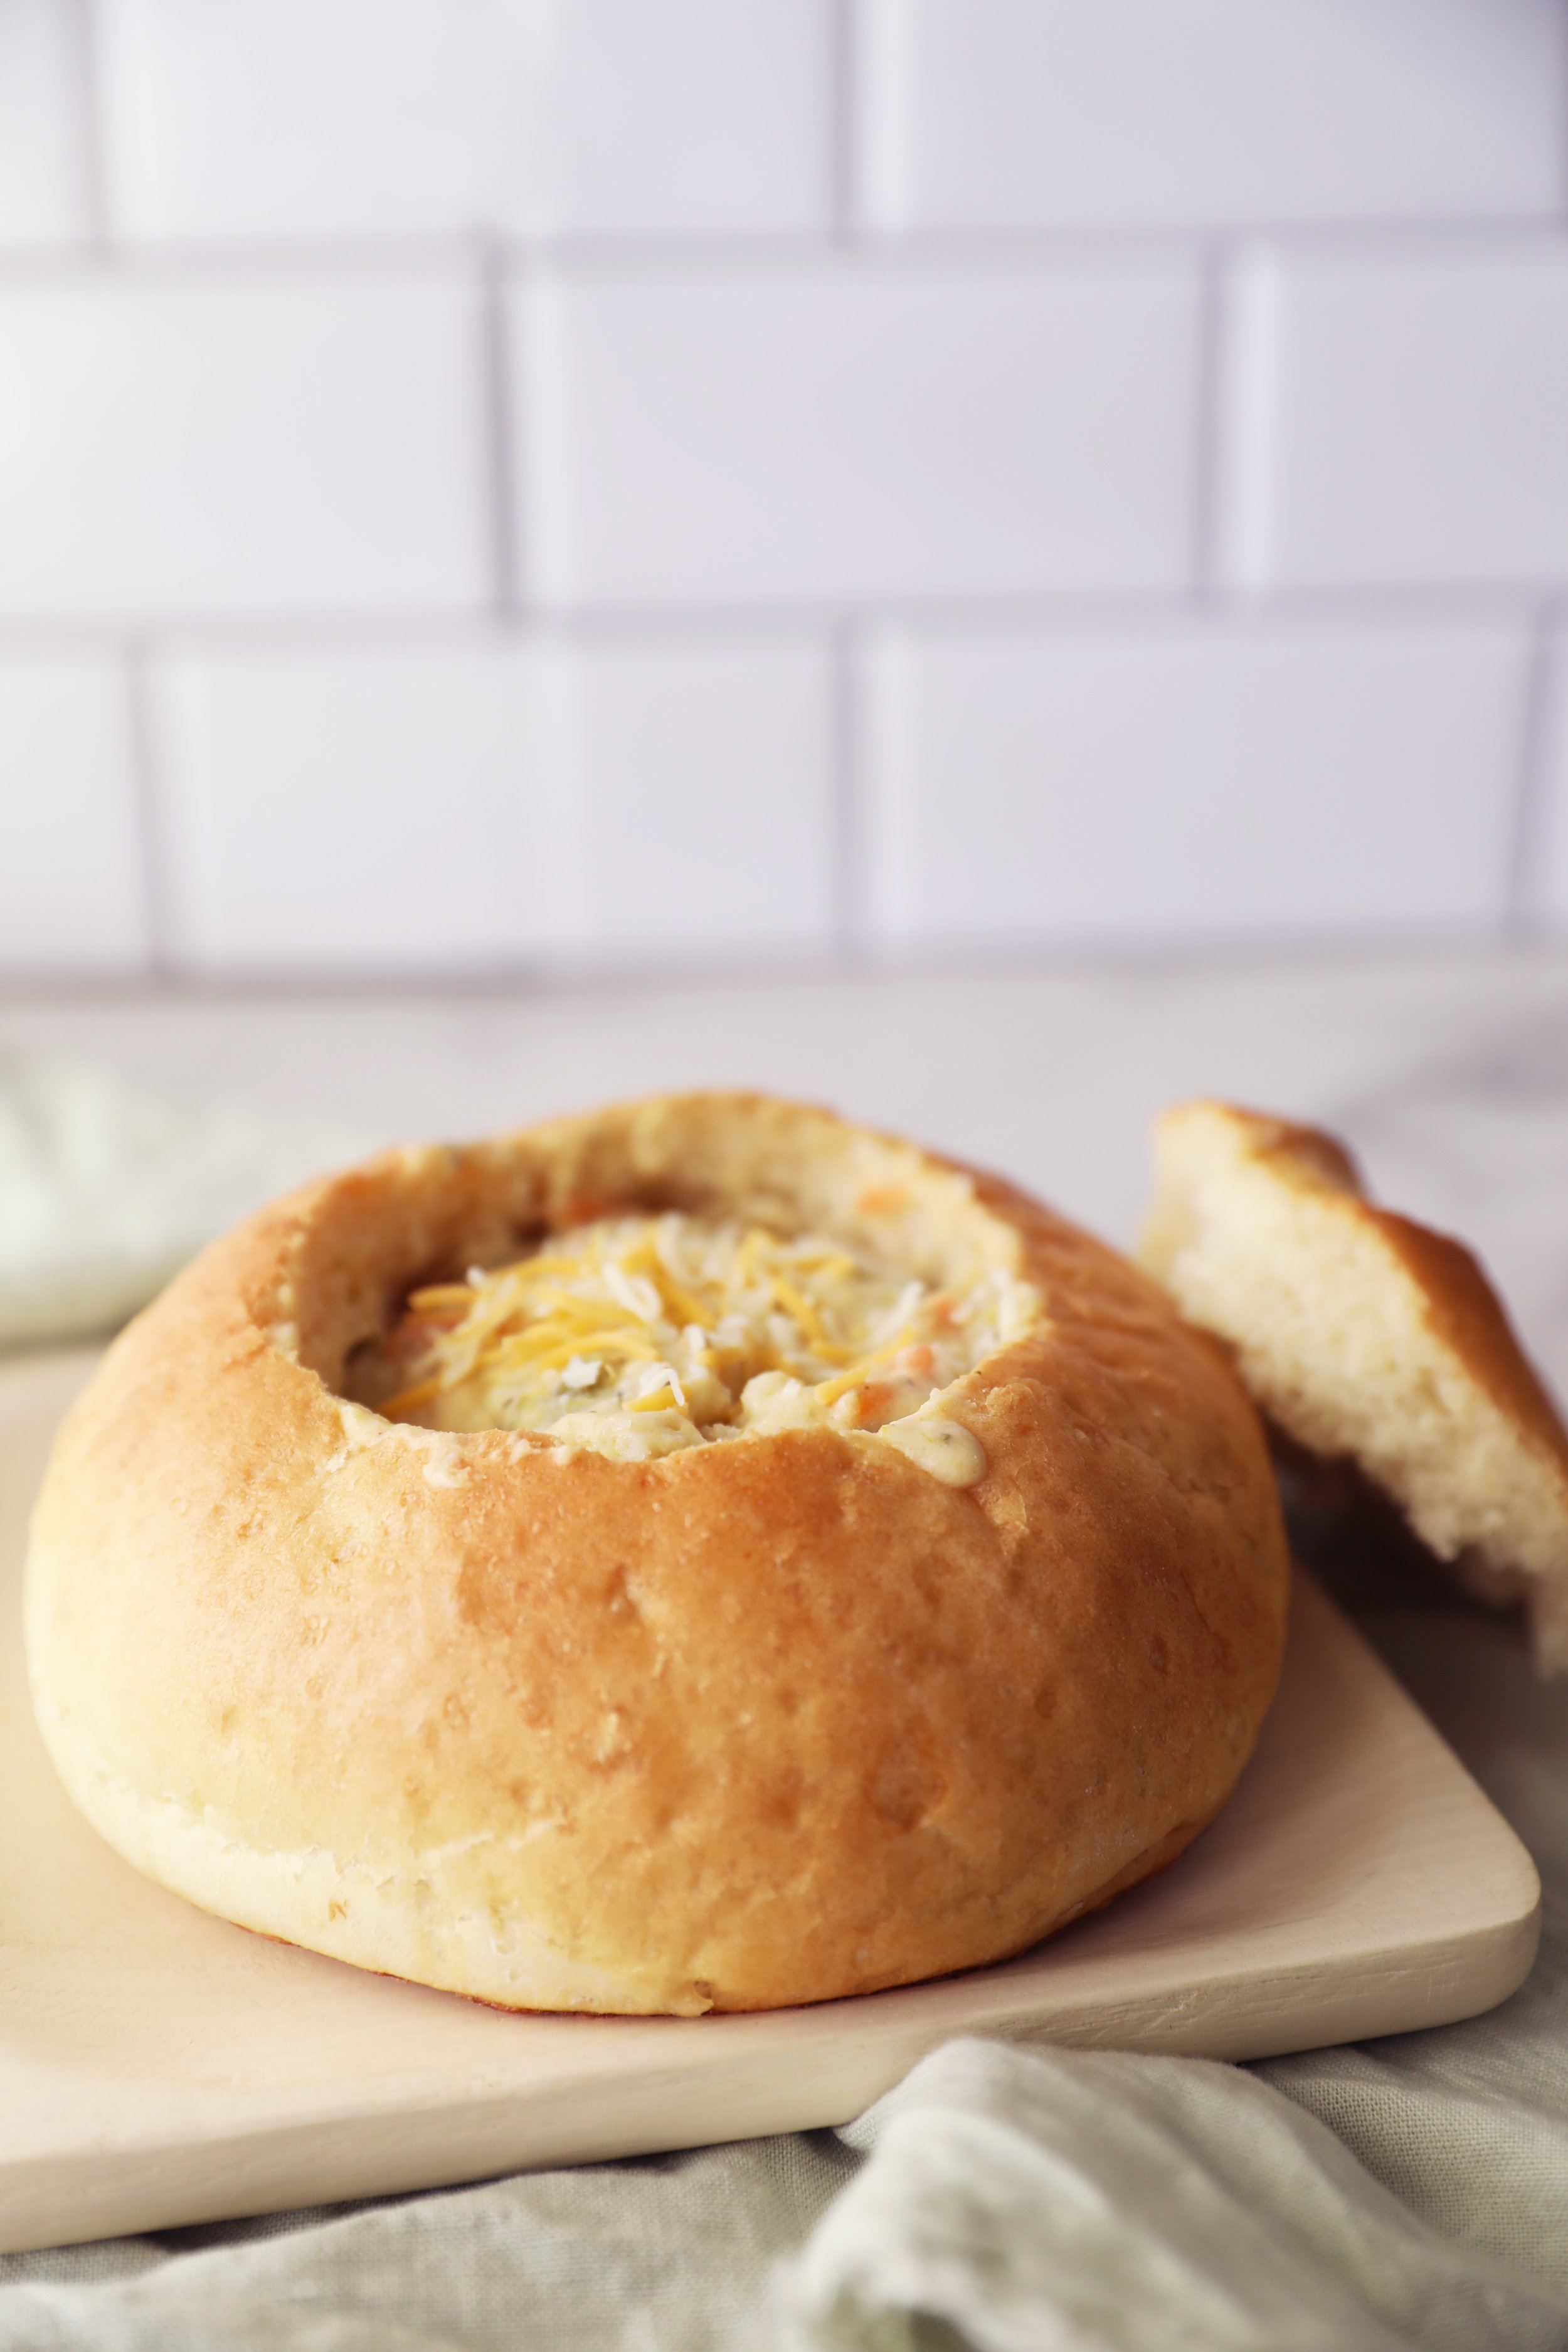
Bread Bowls
It’s time! This is not a drill. Fall is officially here in Arizona, and that means soup season is here as well.
And I’m here to make that soup season even better with these Bread Bowls! Because yeah, soup is great. But edible bowls for your soup? Even better!
These Bread bowls are crusty on the outside and soft of the inside, and just thick enough to hold a broth or a thick stew. They’re actually so fun to make too, and the final result makes any Fall table setting a total knockout. Don’t miss these!
Speaking of not missing things… do you follow me on Instagram? If not, come on over and check it out on @theflouredcountertop. This is my final installment of ‘Bread Week’, where I’ve been discussing different types of Flour, yeast, my favorite bread recipes, and helpful techniques in making sure you get that perfect loaf every time.
Happy baking!

Bread Bowls
Ingredients
- 2 Tbsp + 1 tsp Active Dry Yeast
- 3 1/4 cup Warm water
- 2 tsp Sugar
- 2 Tbsp Melted Butter (Just make sure it's cooled before putting in the dough to avoid killing the Yeast)
- 6-7 cups All-purpose Flour (until it can be handled without sticking to your hands)
- 1 1/2 Tbsp Salt
- 1 Tbsp Water
- 1 Egg
Instructions
- In the bowl of a stand mixer, add in 2 Tbsp+ 1 tsp of Active Dry Yeast, 3 1/4 cup of Warm Water, and 2 tsp of Sugar. Let it sit, until foamy, for about 5-10 minutes.
- Then add 2 Tbsp of Melted Butter, and 6-7 cups of flour, until it can be handled without sticking to your hands. Then the 1 1/2 Tbsp of Salt.
- Mix it all together, and knead on the highest setting in your stand mixer for 5 minutes until it comes together. Place in a greased bowl and cover, then let rise in a warm place until doubled in size- about 30 minutes.
- After it’s risen, punch down the dough onto a floured countertop. Separate into 4 equal sections and shape into balls. To avoid it falling during your second rise and baking time, you need to create tension.. Do this by taking each ball of dough and pushing the underside of it against your hand in a circular motion into your other hand. You can also watch a video on my Instagram (theflouredcountertop) that demonstrates how to do this by clicking on the Highlight Bubble entitled 'Bread Week'. I would recommend doing this for about 2 minutes with each Bread Bowl.
- Place on a greased baking sheet. I was able to fit 3 on a 12x16, and then the fourth on a much smaller pan on one rack of my oven. Cut a small x on top of each one and place in a warm environment to rise. Preheat your oven to 400°. Once it’s reached the correct temperature, place a rimmed baking sheet on the very bottom rack and fill about 2/3 of the way with water. Set a timer for 15 minutes, then close the oven door. This will allow the water to steam, and give the outside of the bread bowls a nice crust.
- A couple minutes before the 15 minute steam time is up, whisk together 1 Tbsp and 1 egg and brush carefully over your risen bread bowls. Place in the oven, with your bread bowls being placed about 3 notches above your steamed water. You’ll probably need to slightly replenish your water at this point. Close the oven door and let bake for 25-28 minutes, until Golden Brown.
- Take out the front the oven and place on a wire cooling rack for about 10 minutes. Cut a hole into the top and remove some of the insides for your soup. Enjoy!


